Showing posts with label ring. Show all posts

Friday, June 29, 2012

Ring Tutorial- Easy, Solitaire, Flower Blossom Ring

This tutorial is for a easy, elegant flower blossom ring.
I love how easy this ring is to make. It is dainty, elegant, and so pretty, yet it uses hardly any supplies! A 3" headpin can make up to a size 8 ring. If you need a bigger size, you can use wire with a flattened end.

Supplies needed- 
-1, 3" Long Headpin
-1, 6mm Rondelle
-1, 10mm Filigree (or Leafy) StyleBead Cap
-Wire snips
- Chain nose pliers

I'm using  a 6mm, Topaz  crystal rondelle, a 10mm Blue Moon Beads "Frosted" silver bead cap
and a silver plated 3" headpin.

Let's Get Started!
First string your bead onto your headpin.
Then string on your bead cap, facing it towards your bead.
It looks like a pretty flower!
With the smallest edge of your chain nose pliers, grip the bottom of the "flower". 
Get as close to the "flower" as you can. 
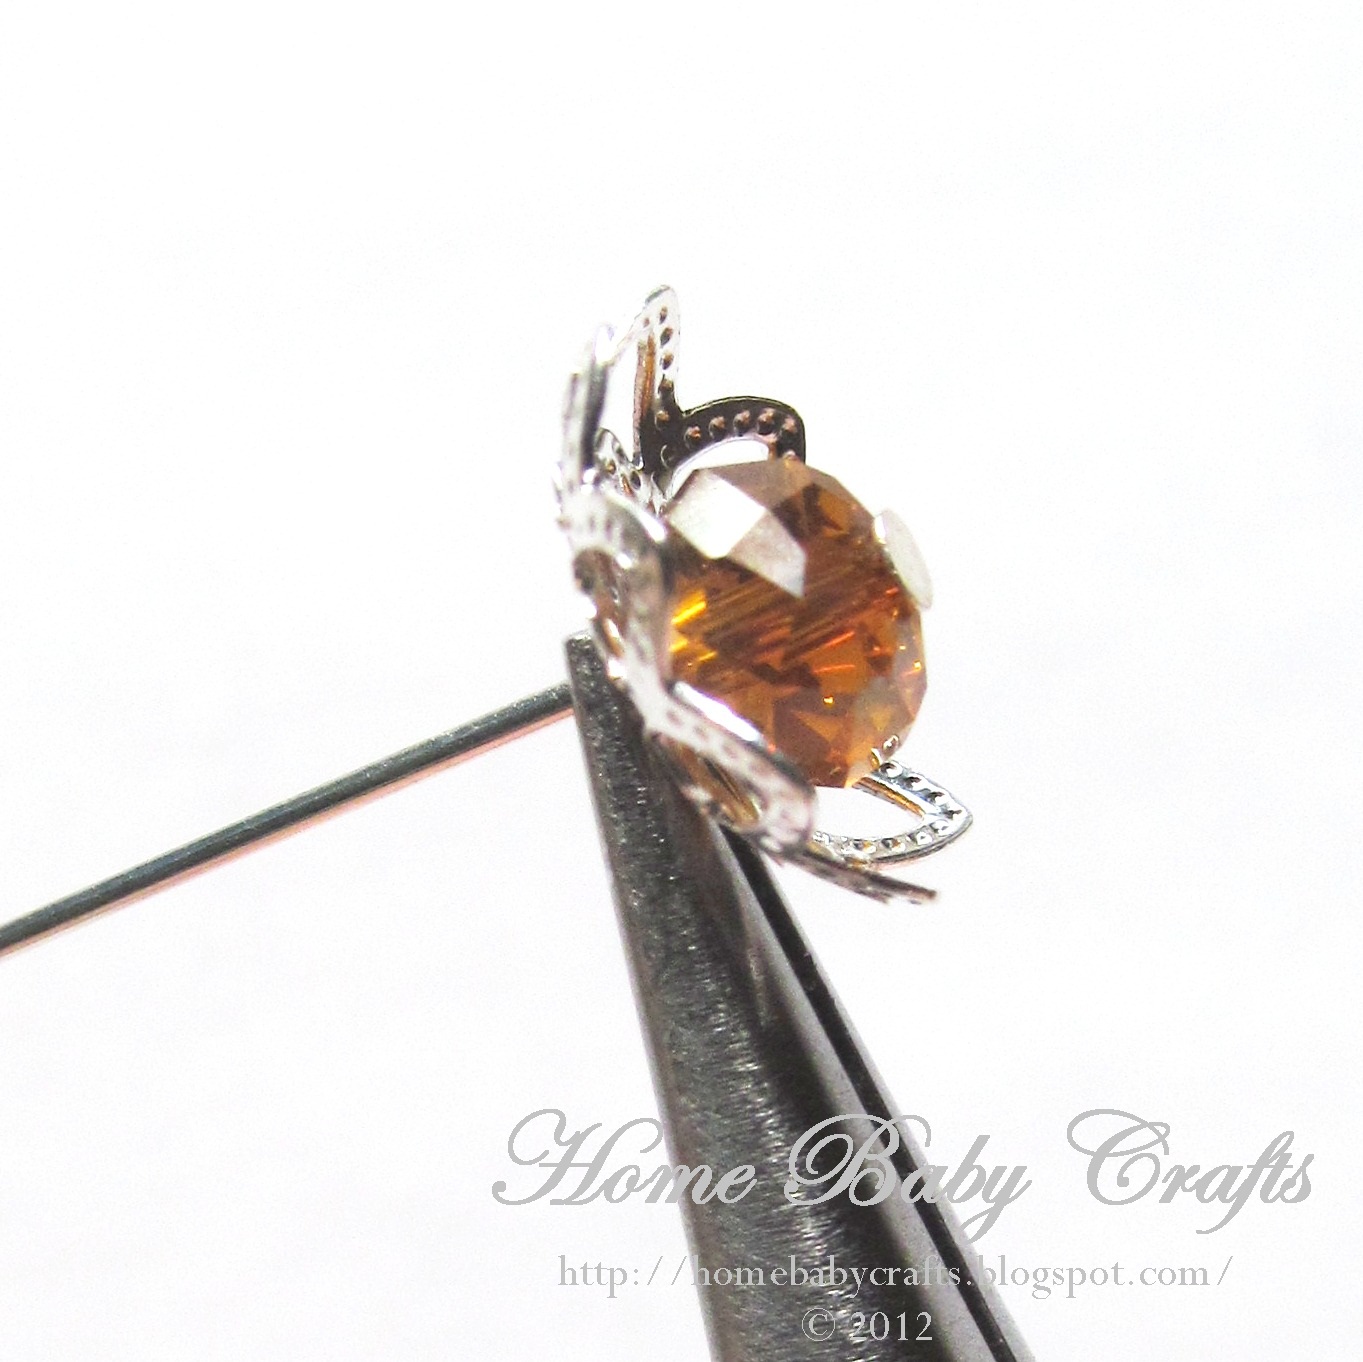
Make a 90° angle. This creates our base.
Place the ring on the mandrel according to the size you need and wrap the pin around the mandrel.
Pull your ring off your mandrel and you will have the basic shape. 
While maintaining your shape, bend your tail around the base.
Using your chain nose pliers continue wrapping the tail up towards the bottom of the "flower" until the bead and cap are secured tightly.
Give the tail (if there is one) a snip.
Press in the clipped edge with your pliers.
Place the ring back on the mandrel and stretch it slightly so that it holds a firm shape and is perfectly round.
And you are finished! You made your own Flower Blossom Ring!
Aren't they Pretty!
Hope you enjoyed your project!
See ya next Friday when we make a...
Native American Dream Catcher Pendant

Enjoy!
<3 Cassandra


Saturday, June 23, 2012

Earring Tutorial- Simple, Stunning, Dangle Earrings

This tutorial is for a simple and elegant, dangle earrings.
So lets get started!
Supplies needed- 
-2 Headpins
-6" 22 Gauge Wire
-2 Earring Hooks
-6 Beads, Various Sizes
-Optional Bead Caps
-Wire snips
- Chain nose pliers
-Round nose pliers
(I'm using 6mm cream faceted glass druks, 6mm turquoise druks, 4mm cream Swarvorski crystals, with bight brass wire, and findings.)
To Begin take your "optional" bead cap and the largest bead and string them onto the headpin.
Place your pliers on top of the bead,
Bend the wire around the pliers.
Turn the pliers a bit and continue to wrap the wire to create a loop.
Bend the loop straight.
Give it a snip.
:)
Repeat with the matching bead, so you have two.
To form the second bead link take your length of wire and make a 45 degree angle about 1/2" in.
Wrap the small tail around the tip of the pliers.
Give it a snip and you have a loop!
String on your second bead.
Bend the wire length to the side and wrap it around the pliers to make a top loop.
Give it a snip and repeat with your second bead.
For the final bead, start it the same what you did your second, by making a loop and placing the bead on the wire.
This time instead of bending the wire towards the side, we'll bend it to the front so it lays right on the hook.
Wrap it around the pliers to make a loop.
Now to put our pieces together!
Take your bottom bead and open it's loop.
 Place on your middle bead and and squeeze it closed.
Open your next bead link loop, and add the last bead link then squeeze it closed.
Add the earring hook in the same fashion and you have a finished earring! Repeat with the other beads.
Once done, admire your finished earrings!
Hope you all enjoy and good luck on your project!
Next Week''s Project-
Easy, Solitaire Flower Blossom Ring

<3 Cassandra