This tutorial is for a easy, elegant flower blossom ring.

I love how easy this ring is to make. It is dainty, elegant, and so pretty, yet it uses hardly any supplies! A 3" headpin can make up to a size 8 ring. If you need a bigger size, you can use wire with a flattened end.
Supplies needed-
-1, 3" Long Headpin
-1, 6mm Rondelle
-1, 10mm Filigree (or Leafy) StyleBead Cap
-Wire snips
- Chain nose pliers
I'm using a 6mm, Topaz crystal rondelle, a 10mm Blue Moon Beads "Frosted" silver bead cap ,
and a silver plated 3" headpin.
Let's Get Started!
First string your bead onto your headpin.

Then string on your bead cap, facing it towards your bead.

It looks like a pretty flower!

With the smallest edge of your chain nose pliers, grip the bottom of the "flower".
Get as close to the "flower" as you can.
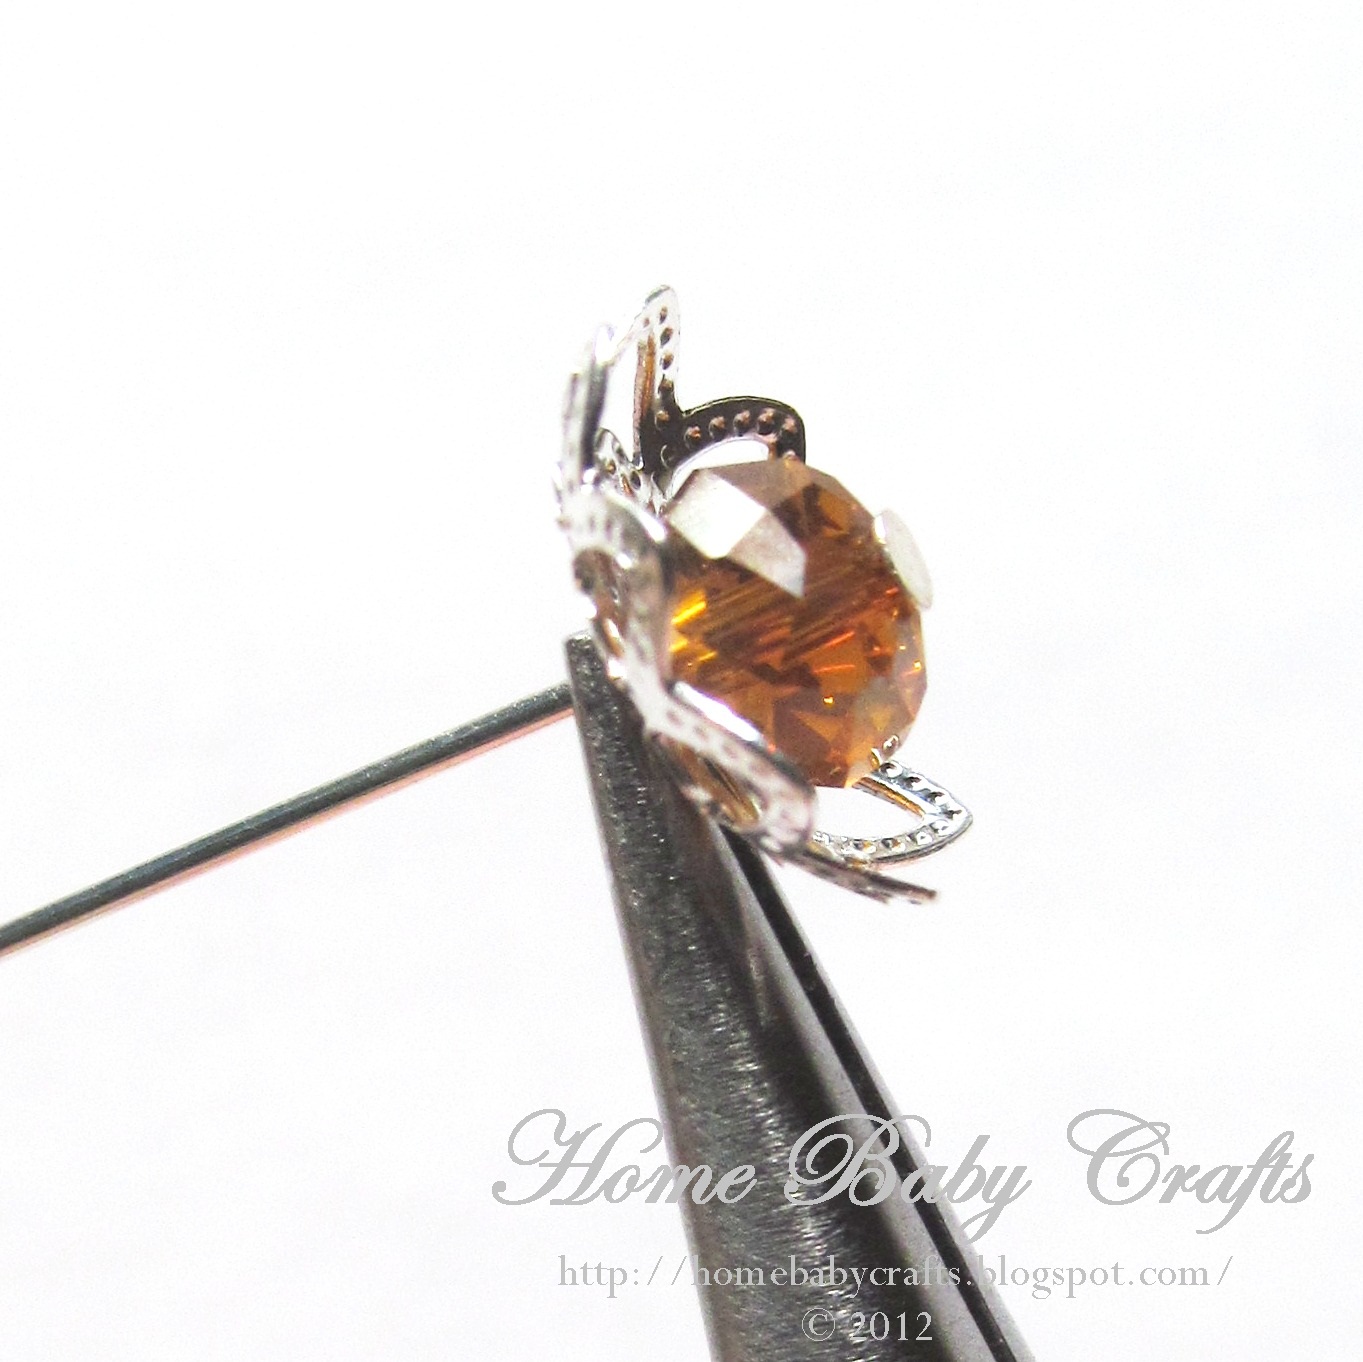
Make a 90° angle. This creates our base.

Place the ring on the mandrel according to the size you need and wrap the pin around the mandrel.

Pull your ring off your mandrel and you will have the basic shape.

While maintaining your shape, bend your tail around the base.

Using your chain nose pliers continue wrapping the tail up towards the bottom of the "flower" until the bead and cap are secured tightly.

Give the tail (if there is one) a snip.

Press in the clipped edge with your pliers.

Place the ring back on the mandrel and stretch it slightly so that it holds a firm shape and is perfectly round.

And you are finished! You made your own Flower Blossom Ring!
Aren't they Pretty!

Hope you enjoyed your project!
See ya next Friday when we make a...
Native American Dream Catcher Pendant

Enjoy!
<3 Cassandra
<3 Cassandra


